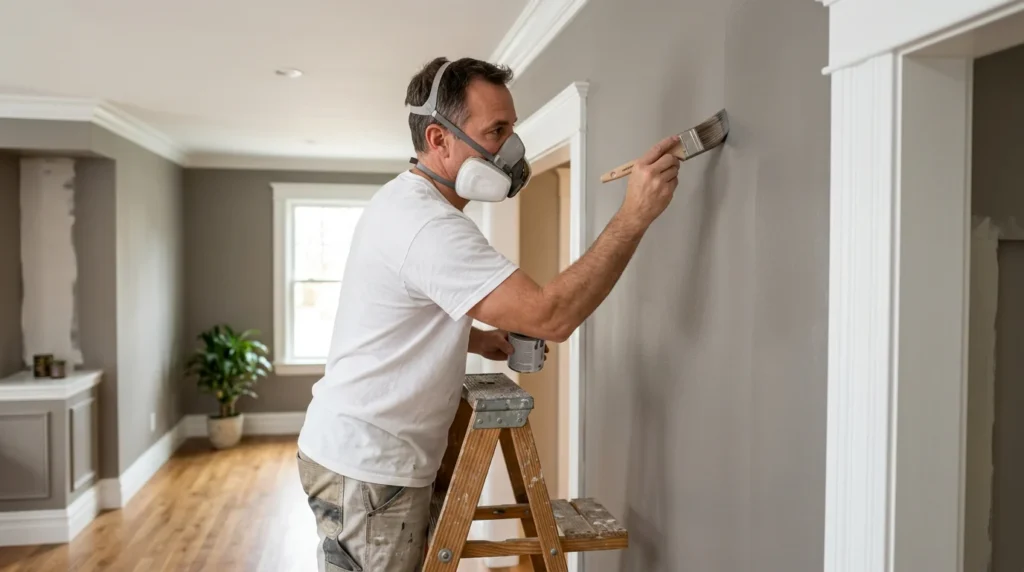
Quick answer: You should consider lead-based paint testing if your home was built before 1978, you’re planning renovations that could disturb painted surfaces, or you have young children or pregnant household members. Testing identifies whether lead is present and where, so you can avoid creating hazardous dust. It’s also useful before buying or renting, especially if peeling or chalky paint is visible.
When Testing Makes Sense
Homes built before 1978 are the classic candidates because lead was commonly used in residential paint until it was banned for consumer use. If you see peeling, cracking, “alligatoring,” or chalky paint—especially around windows, doors, trim, porches, and railings—testing can help you decide what needs to be stabilized or replaced. Even intact paint can become a problem if it’s on friction or impact surfaces that create dust.
Renovation plans are another big trigger. Sanding, scraping, window replacement, drywall removal, and drilling can all release lead dust that spreads farther than most people expect. Scheduling lead based paint testing services before work starts lets you set the right containment and cleanup plan and helps you decide whether to hire an EPA RRP-certified contractor for the job.
What a Lead Paint Test Actually Tells You
Lead paint testing answers a specific question: is lead present in the paint on a given surface? The most common field method is an XRF analyzer, which can scan many painted components quickly and report results surface-by-surface. Another approach is collecting paint chip samples for lab analysis, which can be useful when XRF access is limited or when you want lab-confirmed results for particular areas.
Testing is different from a risk assessment. A risk assessment looks at hazards like lead dust, bare soil, and deteriorated paint, and may include wipe samples to measure dust levels. If your concern is a child’s exposure, dust and soil can matter as much as the paint itself, so ask which type of service matches your goal.
How to Prepare and What to Ask
Before the appointment, list the areas you’re most concerned about: windows, doors, baseboards, stairs, exterior trim, and any rooms where kids spend time. Clear access to those surfaces and keep pets out of the way so the inspection can move efficiently. If you’re in the middle of a remodel, pause dusty work; fresh dust can complicate next steps even if the testing method doesn’t rely on dust samples.
Ask how results will be reported (room-by-room and component-by-component is easiest to act on) and how “inconclusive” readings are handled. Also ask what the next step is if lead is found—options usually include encapsulation, component replacement, or stabilization with lead-safe work practices. Avoid dry sanding and open-flame paint removal; both can create high levels of airborne lead.
What to Do If Lead Is Found
Finding lead doesn’t automatically mean you need a full removal project. If painted surfaces are intact and not on friction points, managing them with regular cleaning and maintenance may be enough. If paint is deteriorating or located where it gets rubbed or hit, you’ll want a plan to repair or replace those components using lead-safe methods and careful cleanup.
If you’re planning renovations, share the results with your contractor so they can set containment, protect HVAC returns, and clean using HEPA filtration and wet methods. For help deciding on the right type of testing and how to use the results, contact BluePrint Home Inspection.