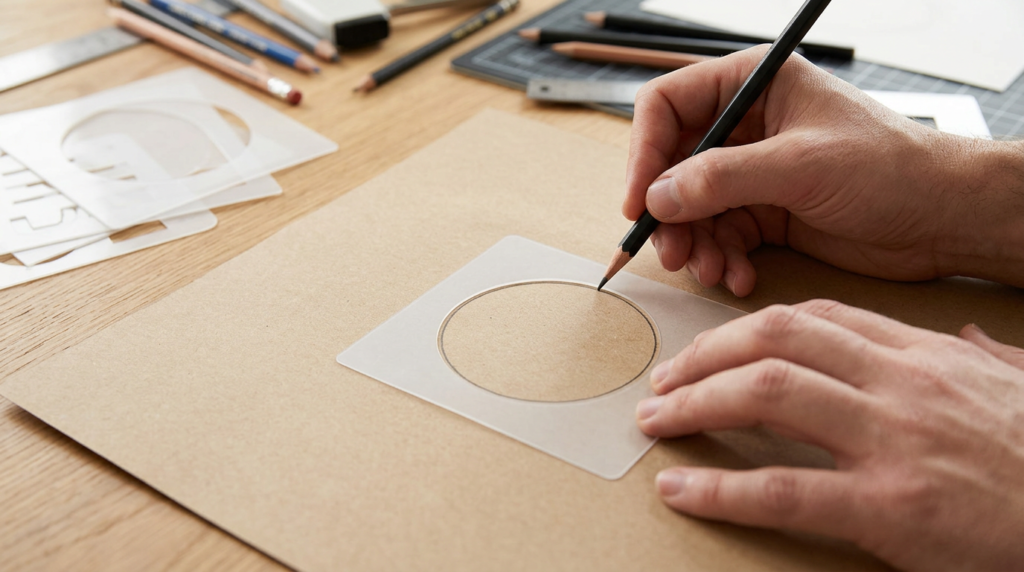
Quick answer: A 3 inch circle stencil helps you draw a clean, repeatable circle on needlepoint canvas or fabric so you can place motifs, ornaments, patches, and round finishing pieces accurately. It’s especially handy for centering designs, marking cut lines for finishing, and keeping multiple circles the same size across a set. Use it with a fine pencil or removable fabric marker and light pressure.
Common Needlepoint Uses for a 3 Inch Circle
A 3 inch circle is a sweet spot for small projects: ornaments, round gift tags, mini hoops, patches, and the front/back pieces of small finished items. The main benefit is consistency—once you can trace the same circle every time, your layout gets easier and your finishing looks more professional.
If you’re planning a round finish, trace the circle early so you can keep your stitched area centered and leave enough margin for finishing. Many stitchers keep a dedicated template like the 3 inch circle stencil in their project bag to quickly audition placement on different canvases.
Circles also help with design planning. Even if your final piece won’t be cut into a circle, a traced circle can act as a visual boundary for wreaths, monograms, florals, or medallion-style motifs so they don’t drift off-center.
How to Trace It Cleanly Without Damaging Canvas
Start by securing your canvas to a firm surface so it doesn’t shift. Use low-tack painter’s tape on the margins (not over the area you’ll stitch) or place a couple of small pattern weights to keep everything flat. Position the stencil, then use a sharp pencil (or a removable fabric pen made for your surface) with a light touch so you don’t distort the canvas threads.
Find true center by counting intersections (the holes where threads cross), not by eyeballing the canvas edge. Count the number of intersections across and down, mark the midpoint intersection lightly, then place the stencil so its center sits over that intersection. To align the stencil to the canvas grid, line up the stencil’s horizontal and vertical “cardinal points” (top, bottom, left, right of the circle) with the canvas threads so the circle doesn’t look tilted once stitched.
To reduce slipping, tack the stencil down with a tiny loop of low-tack tape on the stencil edge, or hold it with a fingertip while you mark just four points (top/bottom/left/right). Lift the stencil, check symmetry against the grid, then reconnect the curve with light, short strokes instead of one heavy pass.
Best Marking Tools for Needlepoint Canvas
Graphite pencil is the safest default for most needlepoint canvas because it doesn’t wick like ink and it stays put. Do use a sharp, hard-ish pencil (many stitchers like an HB or slightly harder) and keep marks light. Don’t press so hard that you flatten the canvas intersections or leave grooves that show after stitching.
Water-erasable markers can work on bare canvas for temporary guidelines, but don’t use them on painted canvas or hand-painted areas where water could lift pigment or leave a halo. Air-erasable markers fade on their own, which is convenient, but don’t rely on them for long projects because lines may disappear before you finish stitching. Don’t use permanent ink pens for anything you might need to remove or cover.
To remove marks safely, start with the gentlest method: brush away loose graphite with a clean, dry cloth or a soft eraser used very lightly on bare canvas. For water-erasable marks, use a barely damp cotton swab and test on an outside margin first; avoid soaking the canvas and keep moisture away from painted areas and threads. If you’re unsure how a tool will behave, test it on a scrap of the same canvas count before marking your project.
Sizing and Placement Tips That Prevent Finishing Headaches
A 3 inch circle translates into a predictable stitch area once you match it to your canvas count. As a typical estimate, 13-count canvas has about 13 stitches per inch, so a 3 inch diameter is roughly 39 stitches across. On 18-count, it’s roughly 54 stitches across. Use those numbers as a planning guide for how big a monogram, wreath, or motif can be without crowding the edge.
Centering is easier if you anchor everything to the grid. After you’ve found the midpoint intersection by counting, count out half the stitch width (for example, about 19–20 stitches each way on 13-count, or about 27 stitches each way on 18-count) to sanity-check that your circle will sit evenly. If your canvas is slightly skewed, basing placement on intersections keeps the stitched circle looking rounder once tension is applied.
Leave extra margin beyond the traced circle for finishing. A typical range is about 1 to 2 inches of unstitched canvas outside the cut line for many finishing methods (lacing, padding, and backing need room to grab). If you’re tracing a stitch boundary and a separate cut line, label them clearly and keep the cut line outside the stitch boundary so your edge stitches don’t get swallowed during finishing.
If you want help choosing the right template size, marking tool, or finishing plan for a round piece, ask Blue Willow Needlepoint.